Azure Cloud Storage — Interactive Lab Manual · Fall 2026
How to use this page
Work through Tasks 1–3 and tick each step as you complete it. Your progress and answers are saved in this browser automatically.
Wherever you see Screenshot, capture your lab progress and attach the screenshot right on this page. Add a short explanation for each.
Answer the Task 4 questions, then use Print / Save as PDF to export your answers and screenshots as one submission file.
Remember to delete your lab resources after capturing everything.
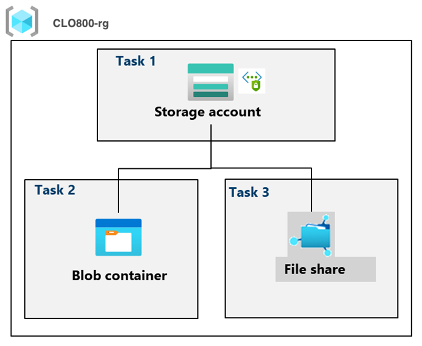
Lab Objectives and Architecture reference
Lab scenario: your organization is currently storing data in on-premises data stores. Most of these files are not accessed frequently. You would like to minimize the cost of storage by placing infrequently accessed files in lower-priced storage tiers. You also plan to explore different protection mechanisms that Azure Storage offers, including network access, authentication, authorization, and replication. Finally, you want to determine to what extent Azure Files is suitable for hosting your on-premises file shares.
In this lab, you will:
Task 1 — Create and configure a storage account. 20 pts
Task 1: Create and configure a storage account. 20 pts
In this task, you will create and configure a storage account. The storage account will use geo-redundant storage and will not have public access.
Setting
Value
Subscription
the name of your Azure subscription
Resource group
<yourName>-clo800-F67-rg (create new)
Storage account name
<yourname>clo800F67sa (all lowercase)
Region
(US) East US
Performance
Standard
Redundancy
Geo-redundant storage (notice the other options)
Make read access to data available in the event of regional unavailability
Check the box
Did you know? You should use the Standard performance tier for most applications. Use the Premium performance tier for enterprise or high-performance applications.
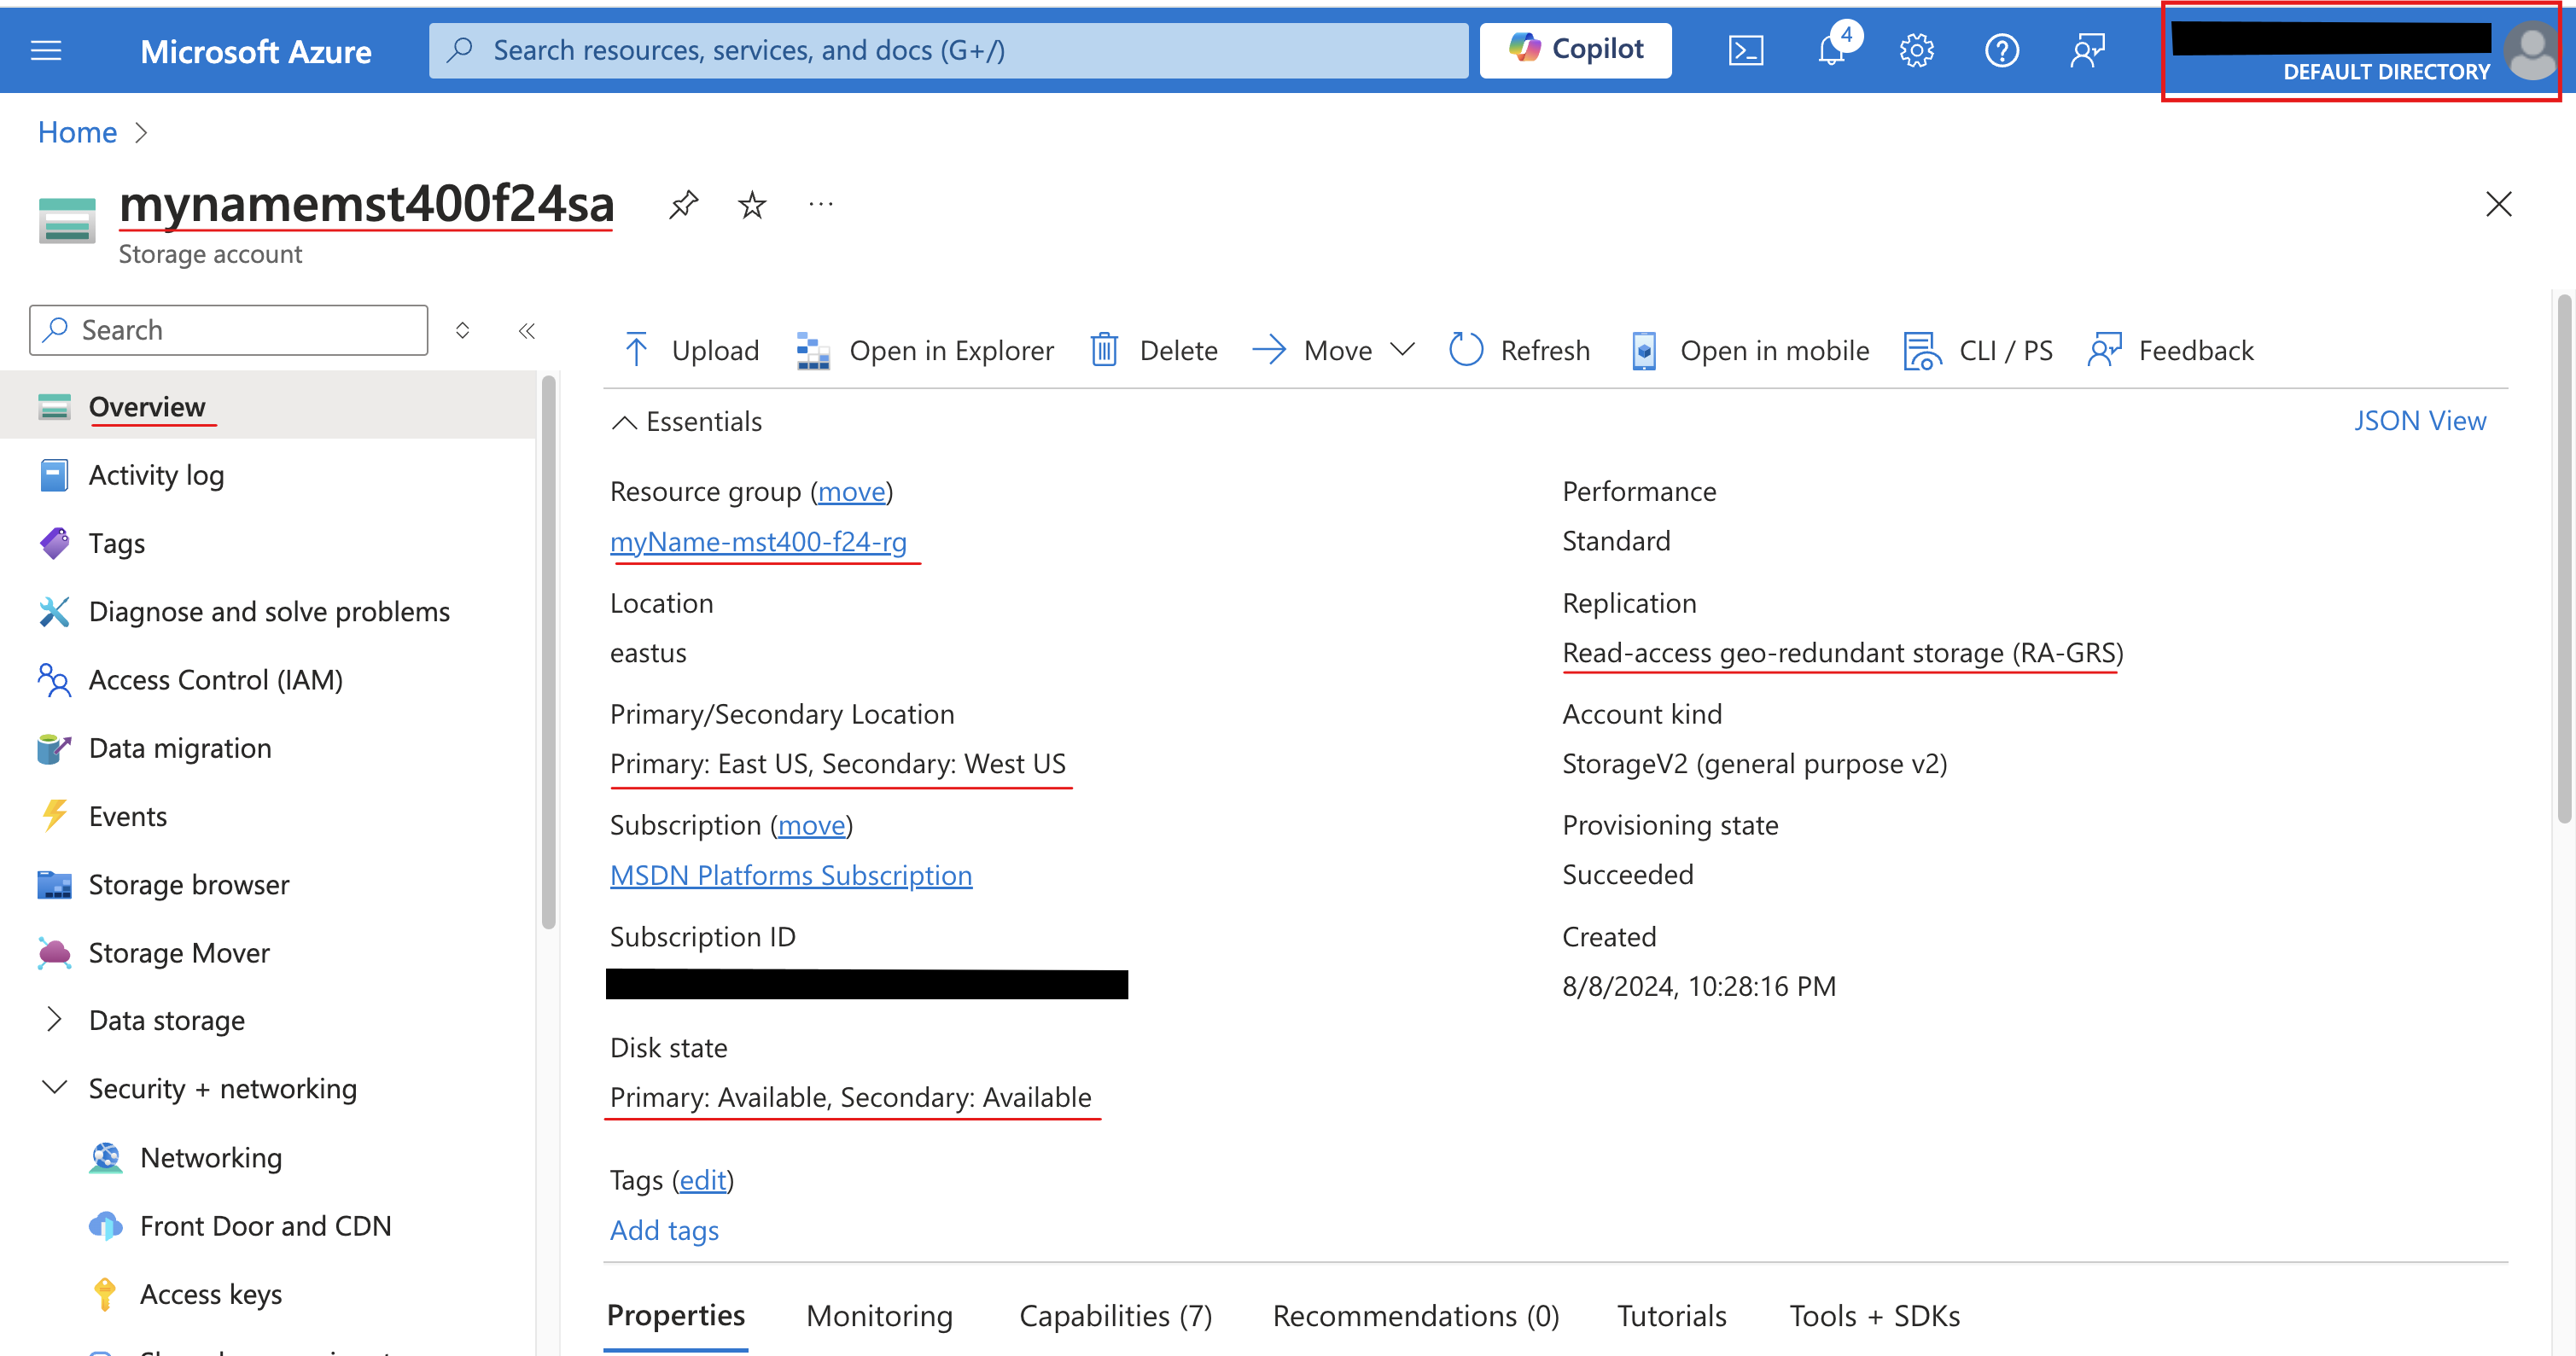
Screenshot must show your Odl_user account, the storage account with the Movetocool lifecycle management rule (base blobs move to cool storage after 30 days)
Task 2: Create and configure secure blob storage 30 pts
In this task, you will create a blob container and upload an image. Blob containers are directory-like structures that store unstructured data.
2a. Create a blob container and a time-based retention policy
Setting
Value
Name
data
Public access level
Notice the access level is set to private
Setting
Value
Policy type
Time-based retention
Set retention period for
180 days
2b. Manage blob uploads
Setting
Value
Browse for files
add the file you have selected to upload
Blob type
Block blob
Block size
4 MiB
Access tier
Hot (notice the other options)
Upload to folder
securitytest
Encryption scope
Use existing default container scope
2c. Configure limited access to the blob storage
Setting
Value
Signing key
Key 1
Permissions
Read (notice your other choices)
Start date
yesterday's date
Start time
current time
Expiry date
tomorrow's date
Expiry time
current time
Allowed IP addresses
leave blank
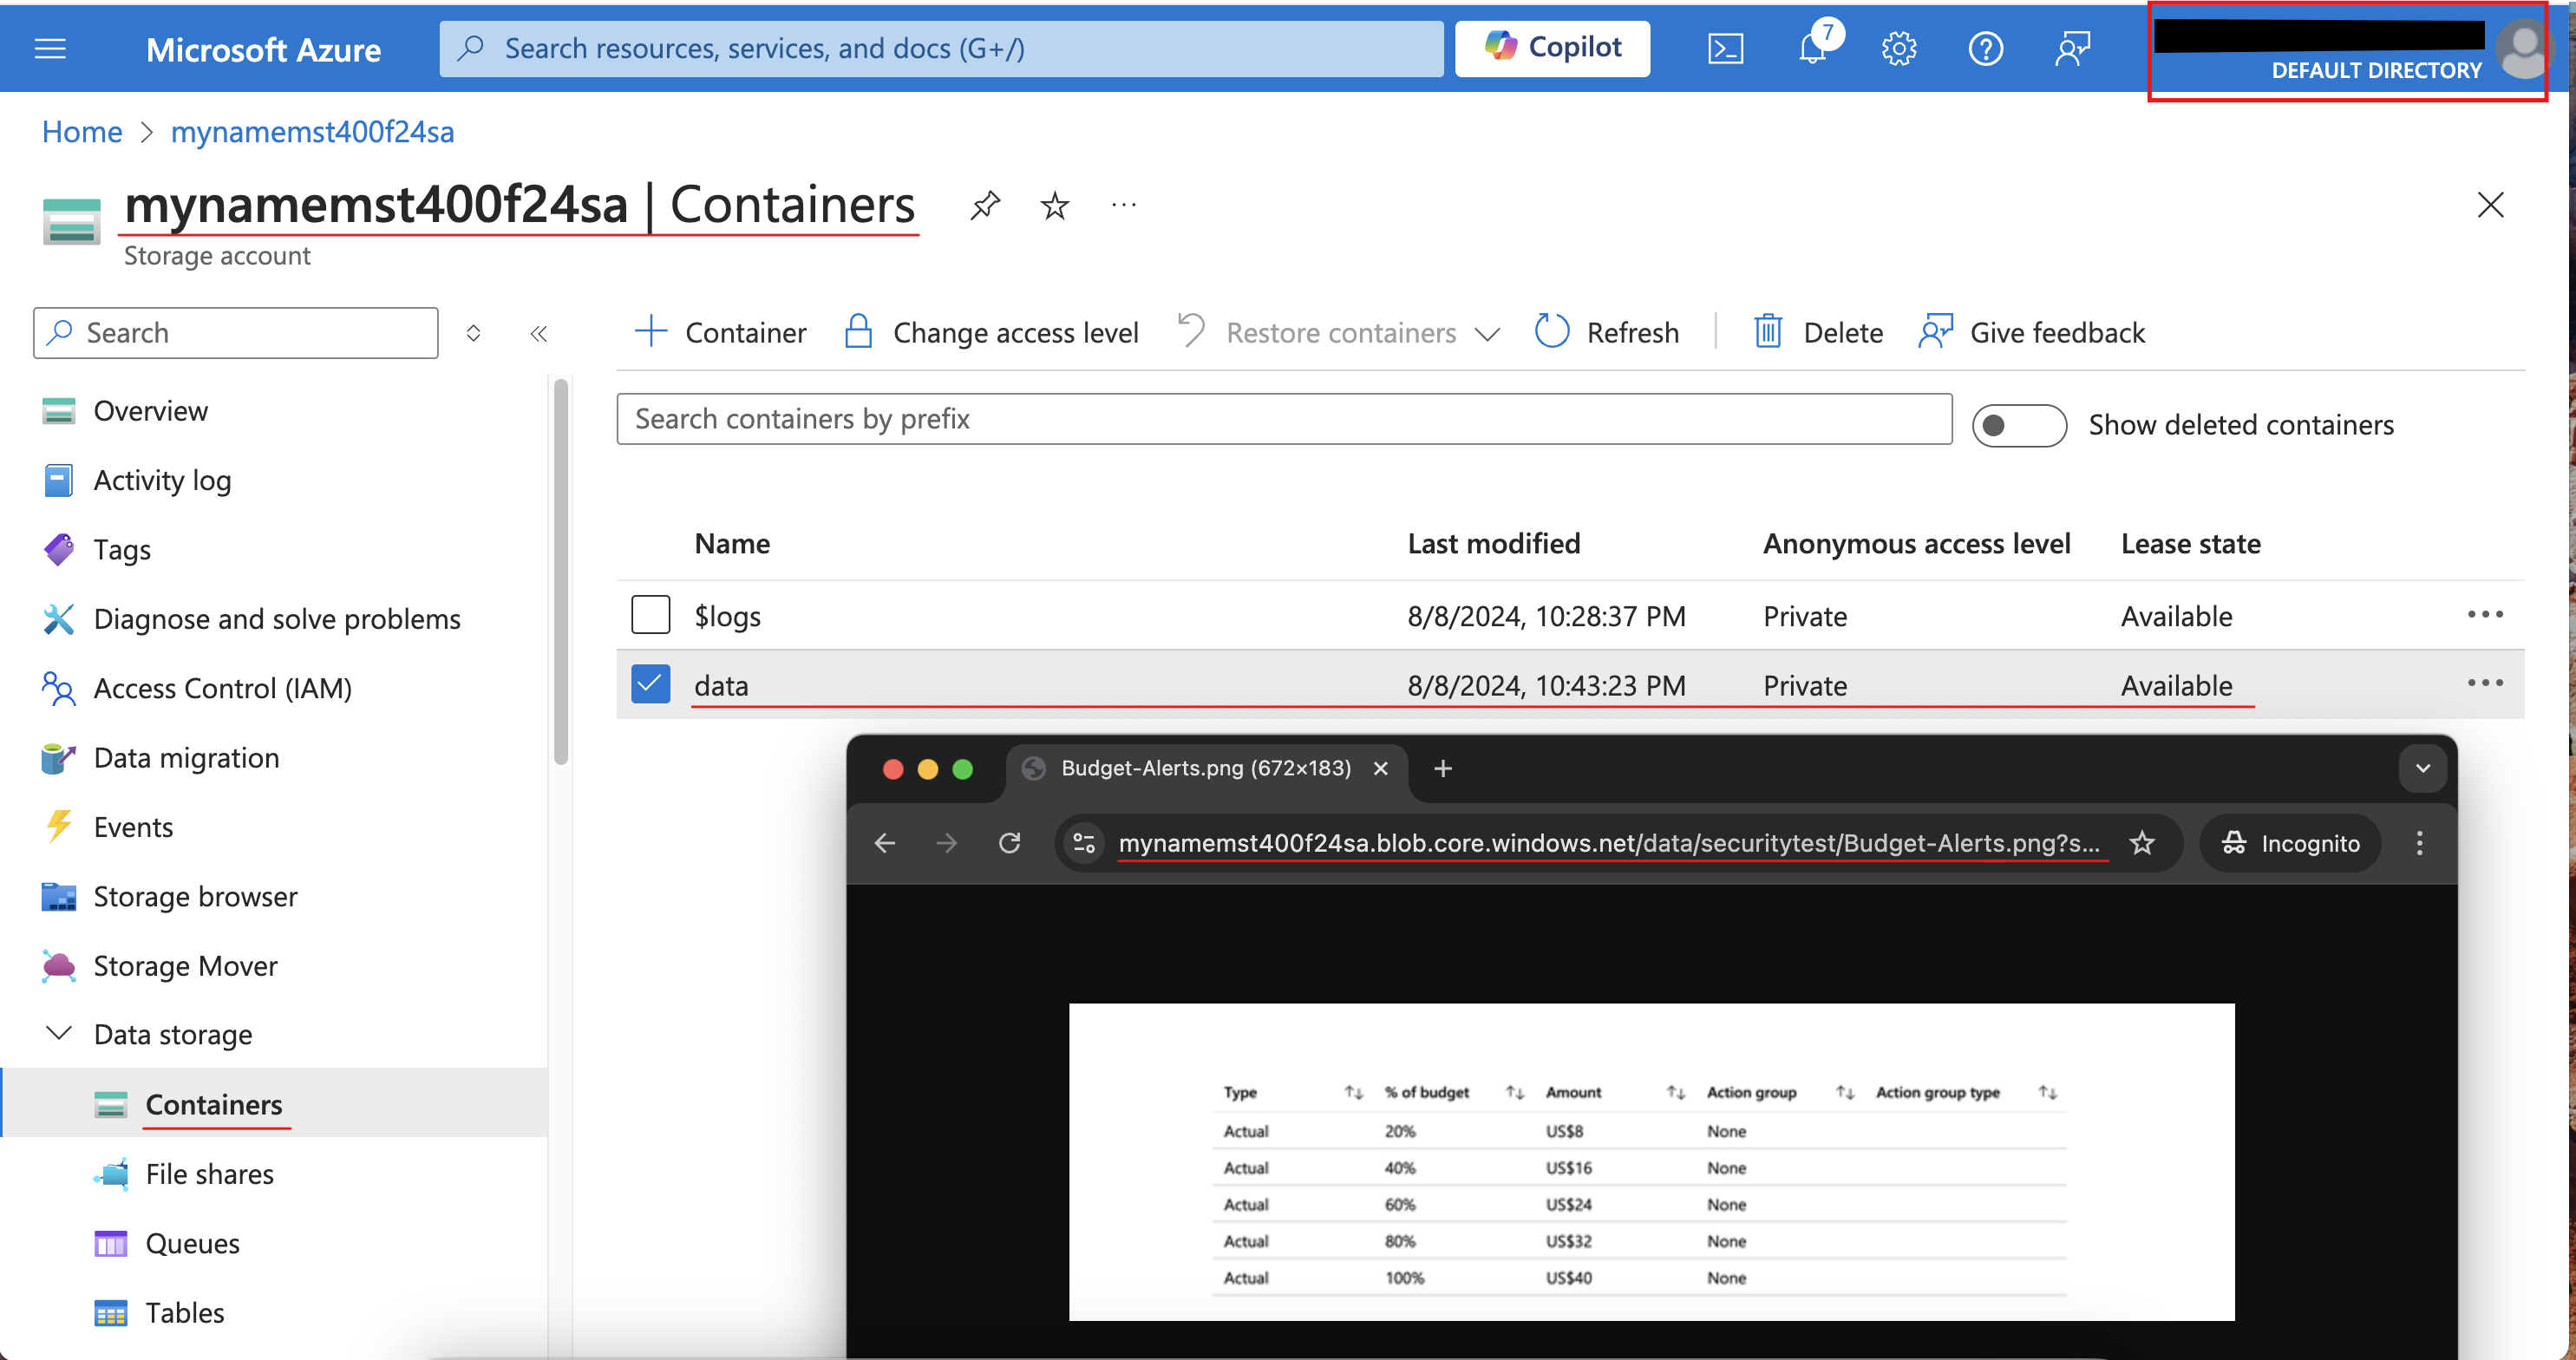
Screenshot must show your Odl_user account, the blob file opened through the Blob SAS URL in the InPrivate browser window
Task 3: Create and configure an Azure File storage 30 pts
In this task, you will create and configure Azure File shares. You will use Storage Browser to manage the file share.
3a. Create the file share and upload a file
3b. Explore Storage Browser and upload a file
3c. Restrict network access to the storage account
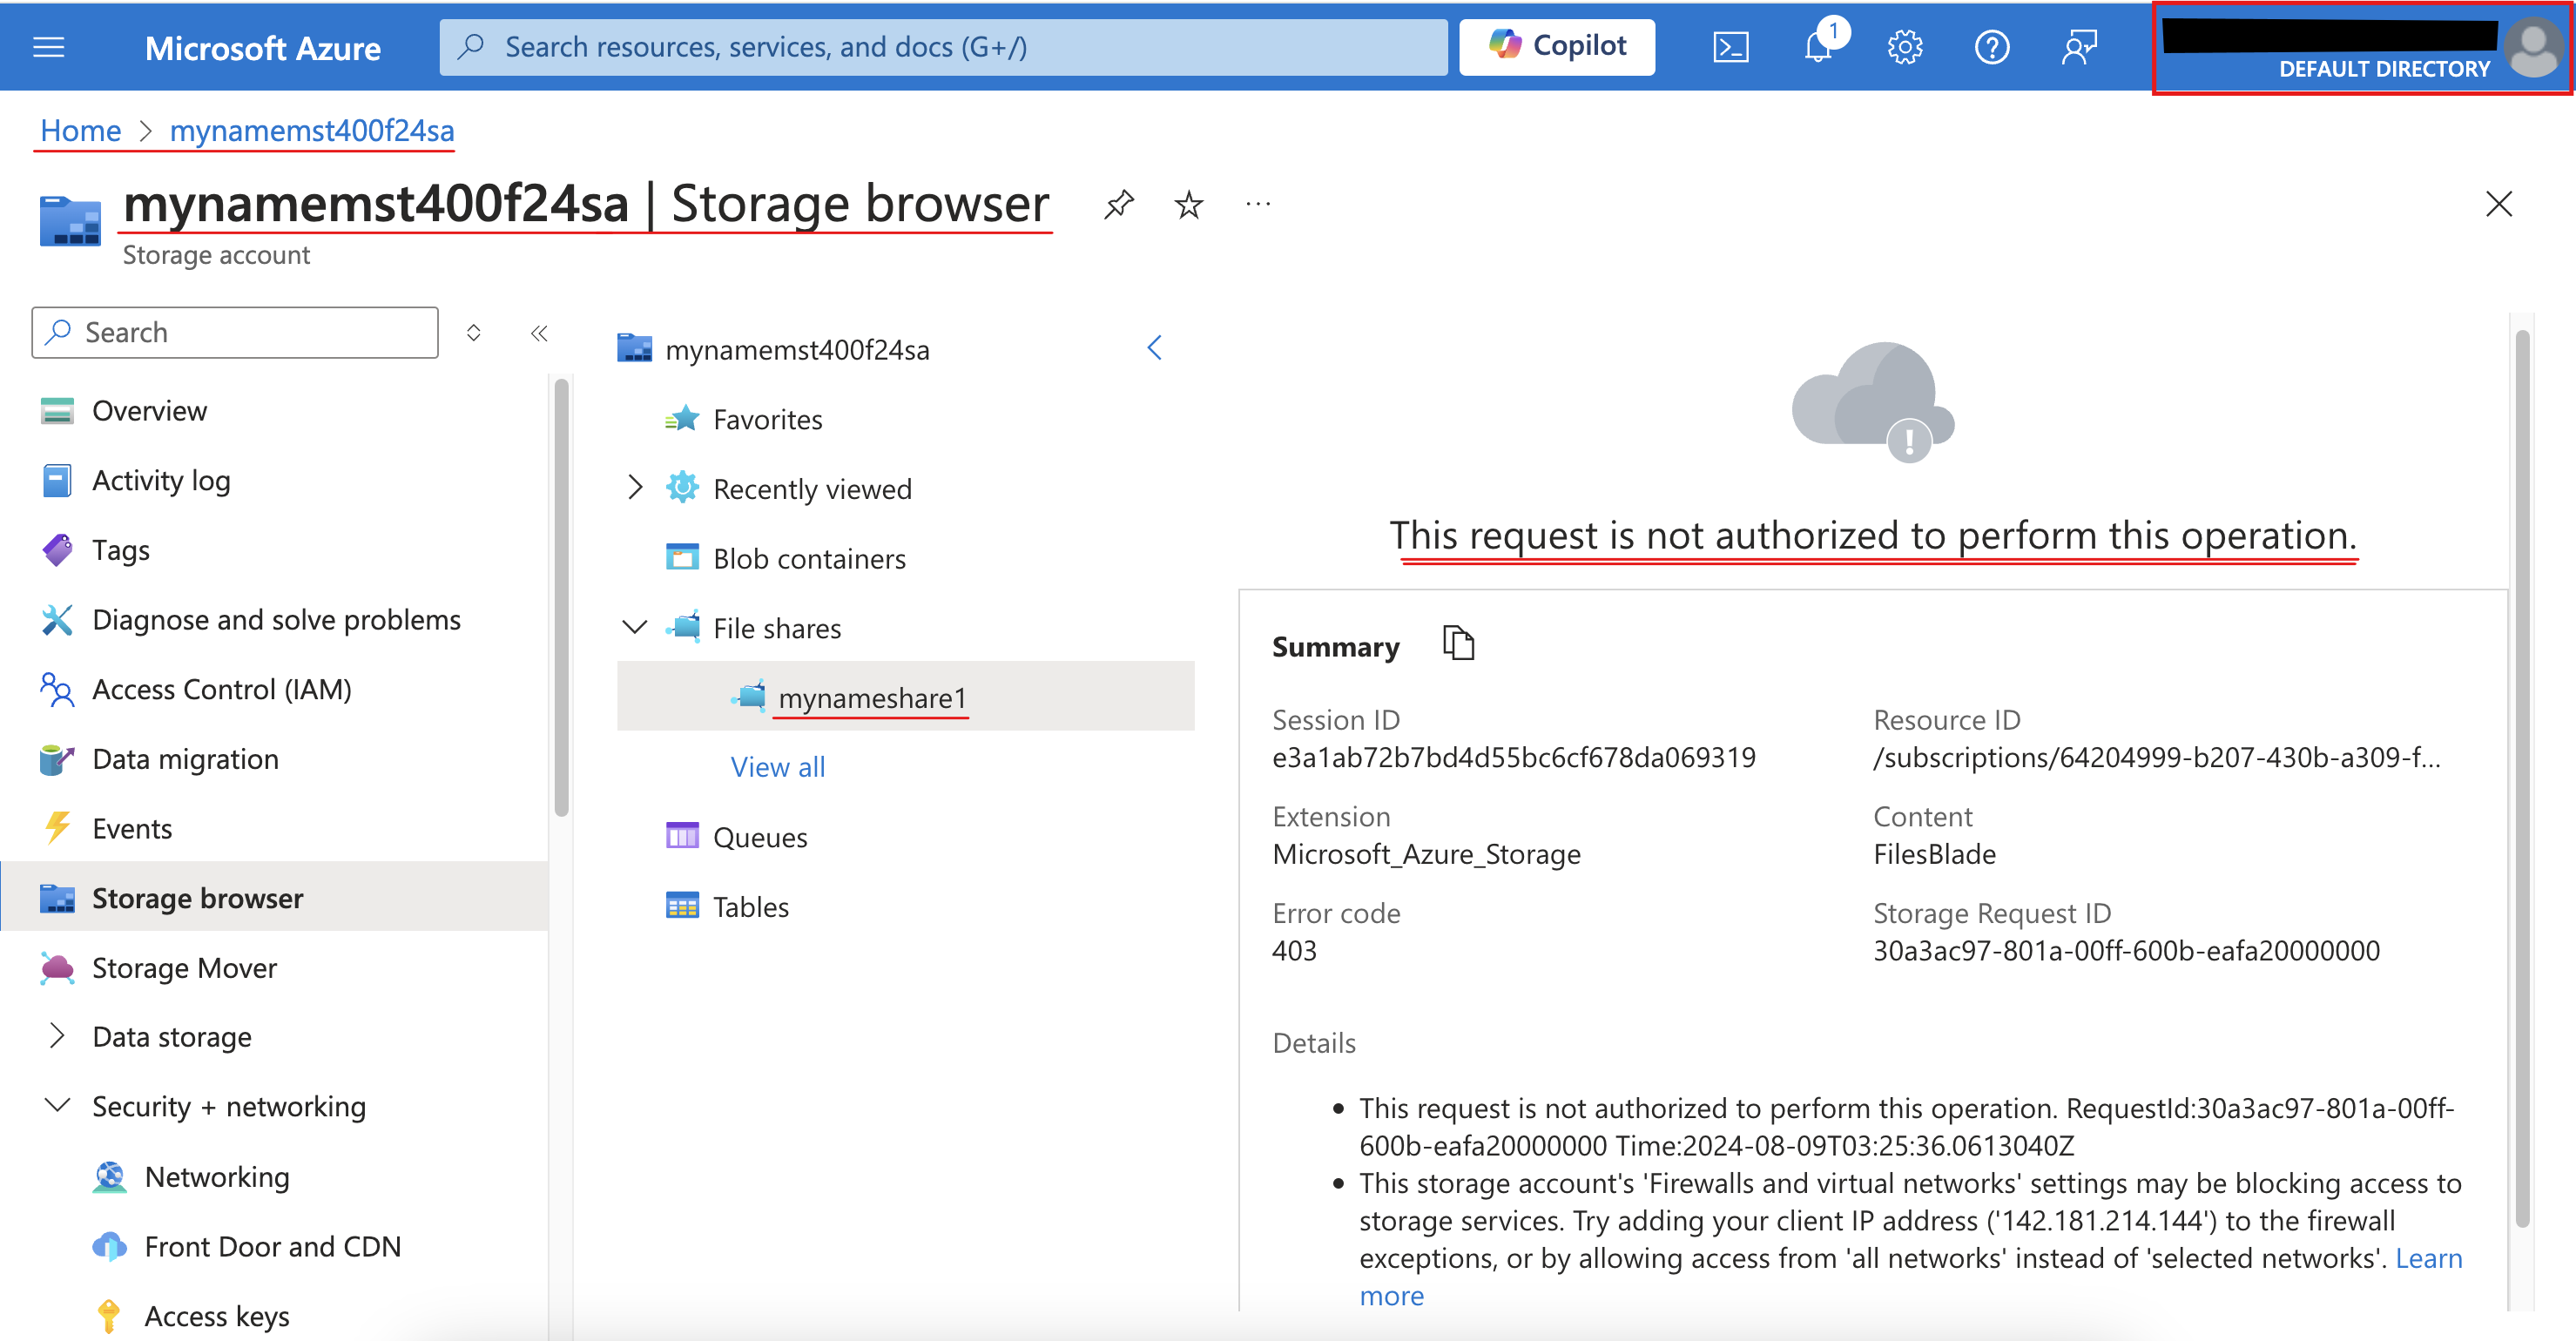
Screenshot must show your Odl_user account, the Storage browser "not authorized to perform this operation" message
Task 4: Summary Questions & Review 20 pts
Minimum 2-3 sentences each — original thinking, your own words!
Sample screenshots reference
These are samples only. Your screenshots may vary, but they should include similar details.
Task 1Task 2Task 3
Clean up your resources
Remember to delete any Azure resources created for this lab after capturing all your information and screenshots. Removing unused resources ensures you will not have unexpected charges and helps you manage your Azure credit for the course. Delete all resource groups except the Odl-Seneca-lab default resource group.
Your submission preview
Screenshots you attach above and your Task 4 answers appear here. This is exactly what prints/exported as your PDF.

 Screenshot, capture your lab progress and attach the screenshot right on this page. Add a short explanation for each.